What is Android Studio?
Android Studio is the official Integrated Development Environment (IDE) for building Android applications. An integrated development environment (IDE) is essentially a software workbench that houses all of the development tools. Here’s an overview of what this means for Android Studio:
- Coding: Built-in code editor with syntax highlighting, code completion, and refactoring to help you write clean and efficient code.
- Debugging: Android Studio allows you to debug your apps, step through the code line by line, and identify and correct errors.
- Building and Testing: The IDE allows you to build your app and test it on a variety of devices and emulators. It also works with testing frameworks to ensure that your app performs as expected.
- Design Tools: While not a fully designed suite, Android Studio includes layout editing tools to help you visually design your app’s user interface (UI).
- Version Control: It works with version control systems such as Git to track changes to your code and collaborate with others.
- Android SDK Management: Additionally, with Android Studio, you can effortlessly manage the Android SDK (Software Development Kit), encompassing the tools and libraries necessary for building Android apps.
Overall, Android Studio offers a complete and user-friendly environment for creating Android applications.
System Requirements
To install Android Studio, your system should meet the following minimum requirements:
Operating System:
- Microsoft® Windows® 7/8/10 (32- or 64-bit)
- macOS® 10.10 (Yosemite) or higher
- Linux (64-bit distribution capable of running 64-bit applications)
Processor:
- Windows: Intel® or AMD processor with 64-bit support
- macOS: Intel® processor
- Linux: Intel® or AMD processor with 64-bit support
RAM: A minimum of 4GB of RAM, but 8GB or more is recommended for better performance.
Disk Space: For faster performance, experts recommend using SSD drives while ensuring a minimum of 4GB of available disk space, excluding the space required for SDK components.
Screen Resolution: 1280 x 800 is the minimum screen resolution.
Java Development Kit (JDK):
- Android Studio requires you to install JDK 8 or later on your system.
- For Windows, the installer includes JDK, so no separate installation is necessary.
- Optional: To confirm the presence of an existing Java Development Kit (JDK), you can check by opening a command prompt and typing “java-version.” Once the version number appears, you’re all set!
- If not, you’ll need to download and install the JDK from the official website: https://www.oracle.com/java/technologies/downloads/
Graphics Card: You don’t need a dedicated graphics card, but it can enhance the performance of the Android Emulator.
Internet Connection: During installation, you need an internet connection to download the necessary components and updates.
Additional Software: Some features in Android Studio may necessitate you to install additional software, such as the Android Emulator, which demands hardware acceleration support.
Download Android Studio
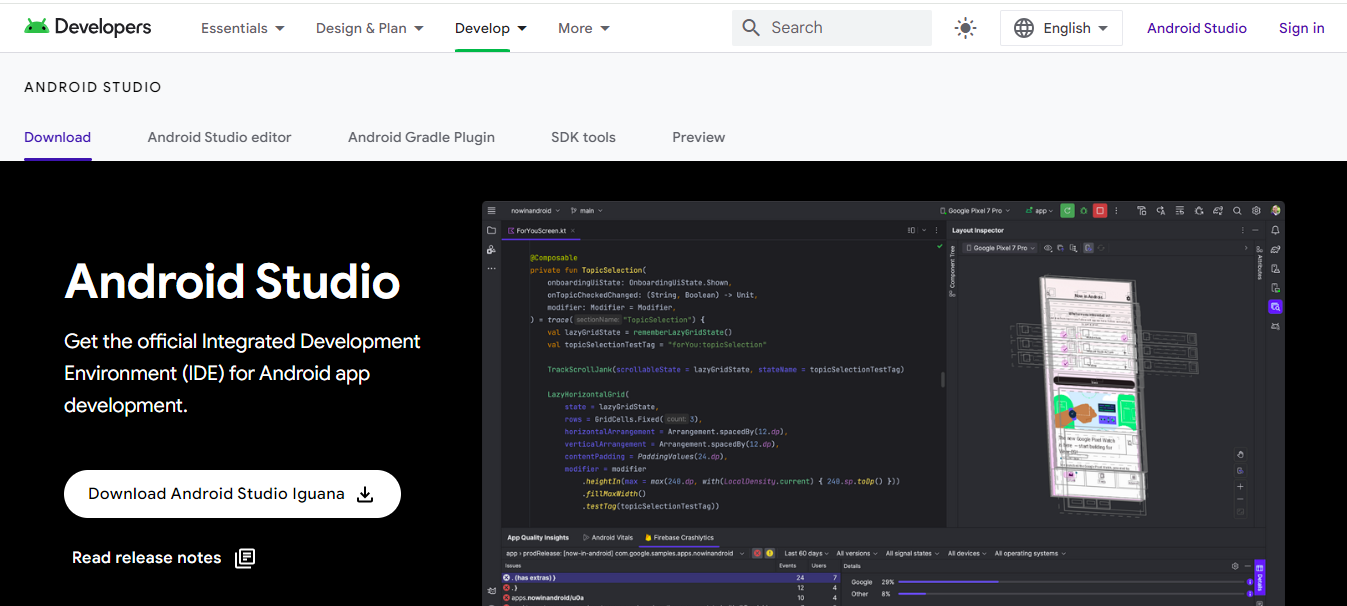
Head over to the official Android Studio download page: https://developer.android.com/studio.

The website will automatically detect your operating system (Windows). Click the “Download Android Studio” button.
- Click on the “Android Studio” installer file from your downloads file again to begin downloading the installer.
Installation of Android Studio
- After the downloading has finished, open the file from the downloads and run it. It will prompt the following dialog box:

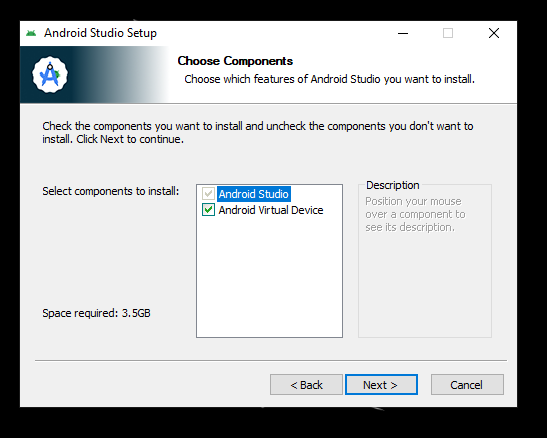
- After clicking on “Next,” the subsequent prompt will prompt you to select which features of Android Studio you wish to install. Simply check the required boxes and proceed by clicking “Next.”

- Upon reaching the next prompt, you’ll be asked to specify a path for installation. This indicates that Android Studio will be installed in the default directory (C:\Program Files\Android\Android Studio). However, if you prefer a custom location, simply click “Browse” and select your desired directory. Once you’ve chosen a path, proceed by clicking “Next.”

- In the next prompt, it’ll ask you to choose a start menu folder in which you would like to create the program’s shortcuts. You can also enter a name to create a new folder as per your choice.
Finally, click “Install” to begin the installation process.

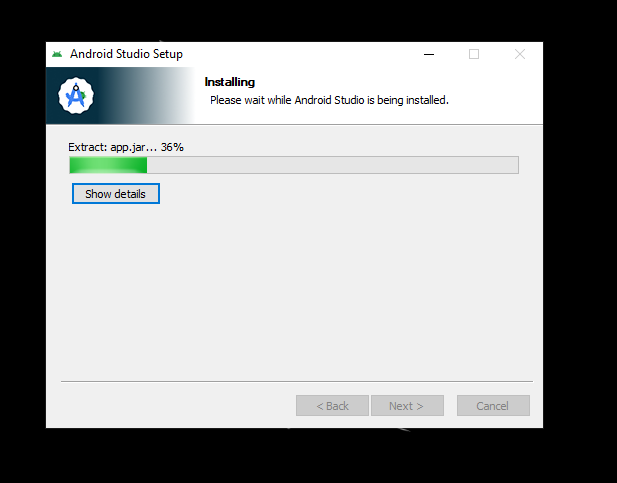
- Installation process:

- Optional: If you wish to see paths where Android Studio has been installed, click on “Show Details”.

- Click on the Finish button to start Android Studio:

Additional Tips:
- Make sure your internet connection is stable during the download and installation process.
- If you encounter any issues during installation, refer to the official Android Studio documentation for troubleshooting steps: https://developer.android.com/studio/install
- Consider exploring online tutorials and resources to get started with your app development journey!
Summary
With Android Studio up and running, you’re now equipped to create amazing Android apps. Remember, practice makes perfect, so don’t hesitate to experiment and explore the vast functionalities of Android Studio. Happy coding!
Discover more from lounge coder
Subscribe to get the latest posts sent to your email.

